Using e-Link : Working with Student Records : Saving and Editing a Filter

Saving and Editing a Filter
Depending on the filter permissions that your administrator has set, you can have the ability to save a new filter or edit an existing filter for both basic and advanced filters. The process for saving and editing a filter is the same for both the Find Students and Student List Report functions in both the basic and advanced filters.
To save and edit a filter:
Path:) Students > Find Students
OR
Path:) Reports > Student List Report
1.
Before you can save a filter, you must first create the criteria for that filter. You can create the criteria for a filter from scratch or you can use the criteria of a filter that has already been saved.
2.
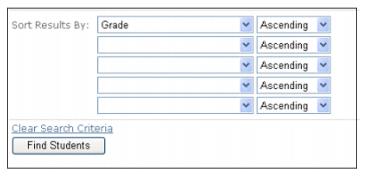
Perform steps 1 thru 7 in Finding a Student in e-Link to create filter criteria from scratch or populate the search window with criteria from a saved filter as described in Using a Saved Filter.
The following screen is an example of the search screen populated with search criteria.
3.
4.
5.
6.
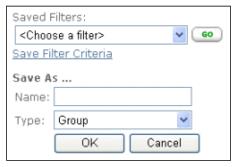
Click on the Type drop-down button to display the 3 available types:
Group
Viewable by all users with the same User Group as the creator
Private
Viewable only by the creator
Public
Viewable by any system user with reporting permissions
7.
Select a Type and click OK to save the filter.